Want to easily add some custom style to your home on a small budget?
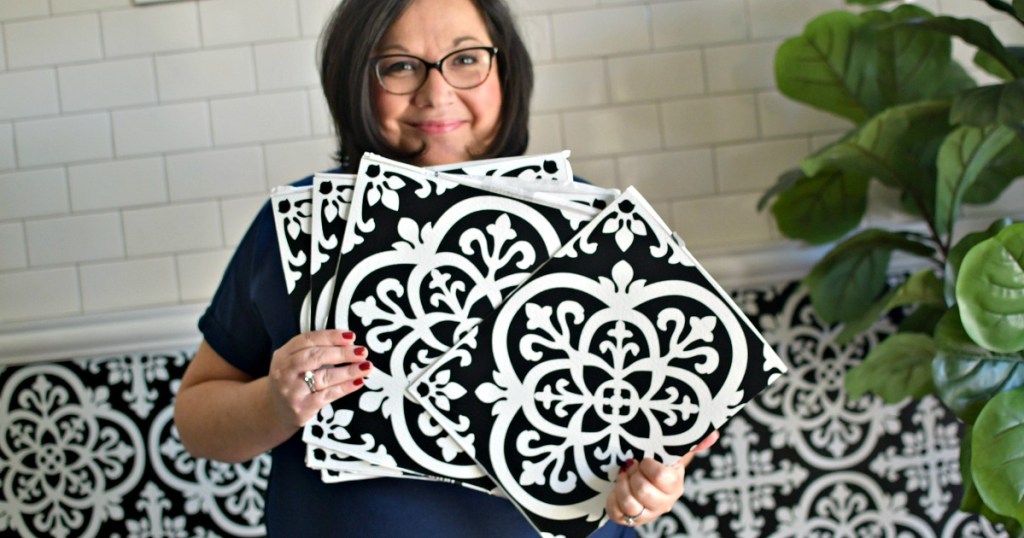
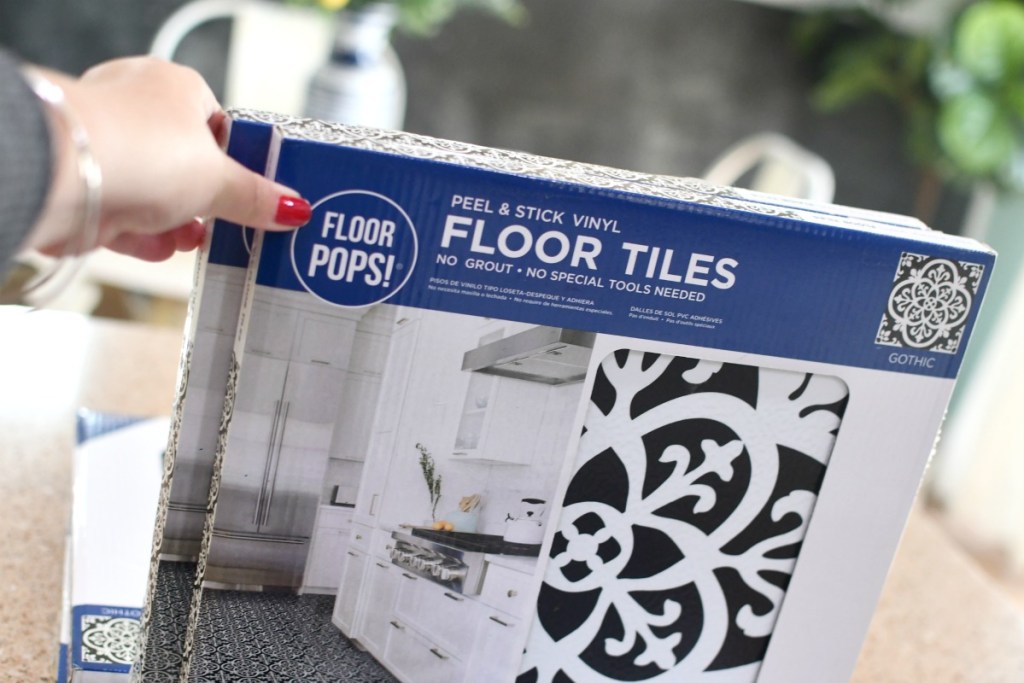
Consider using these fun and decorative FloorPops Peel & Stick tiles to beautify your home. We installed these stylish vinyl tiles recently in our kitchen as an easy DIY project and I’m super impressed with the results!
The best part is that there were no trips to the hardware store at all, and we were able to get this wall done in under 3 hours for just $50!
It was time for a change on this feature wall.
About 6 years ago, I painted the bottom of my kitchen wall using black chalkboard paint and have loved it. Later on we had the top of the wall tiled with subway tiles and it looked great together with the contrasting black and white. Over time I noticed the chalkboard paint needed to be repainted, and decided it would be fun to change things up a bit.
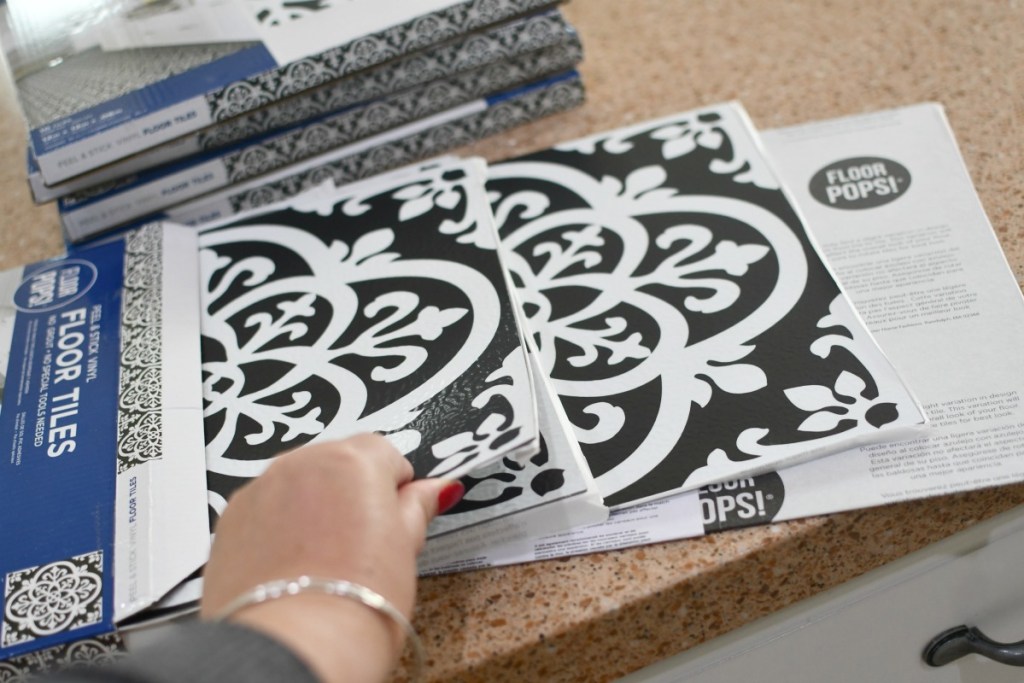
Please note that this is not a sponsored post. I purchased these 12×12 inch Floor Pops myself, and am excited to share my honest product review with all of you!
Here’s why I chose FloorPops peel and stick tile!
-
- I love this trendy design and thought it fit well with my style.
-
- There is no grout or special tools needed. You just need a utility knife to make cuts.
-
- We saved money by doing this ourselves instead of hiring a tile person to install actual ceramic tiles.
-
- Floor Pops is a very highly-rated vinyl product, and I have seen several DIY bloggers install it with success.
-
- The investment in the project was $50 in materials. Each packet has 10 tiles which covers 10 square feet.
-
- Thanks to Amazon, it was delivered right to my doorstep so no trips to the hardware store needed!
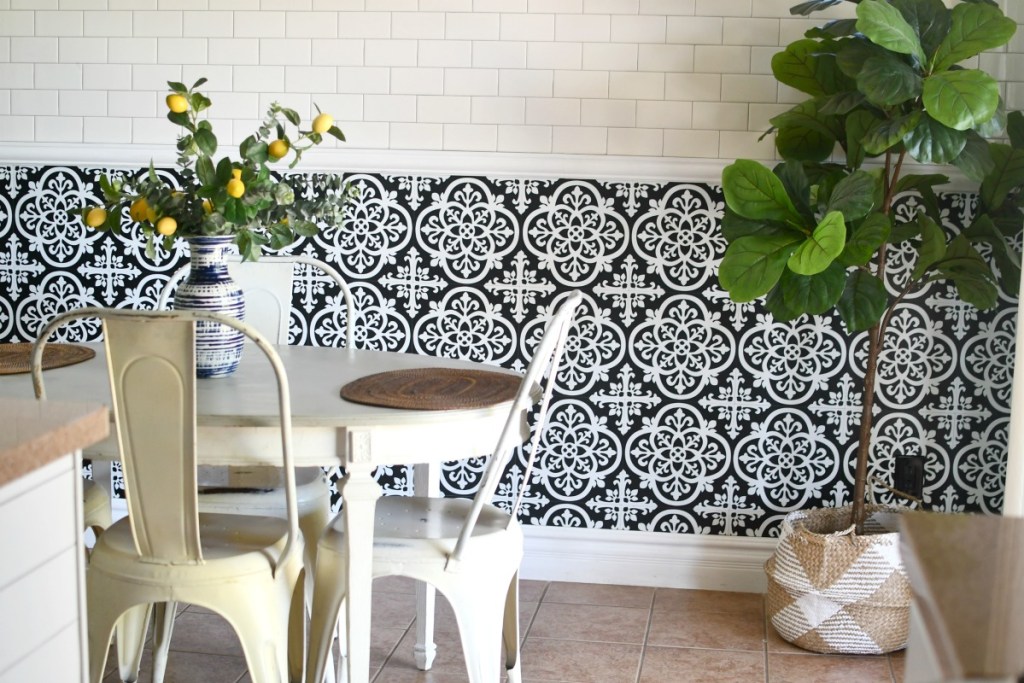
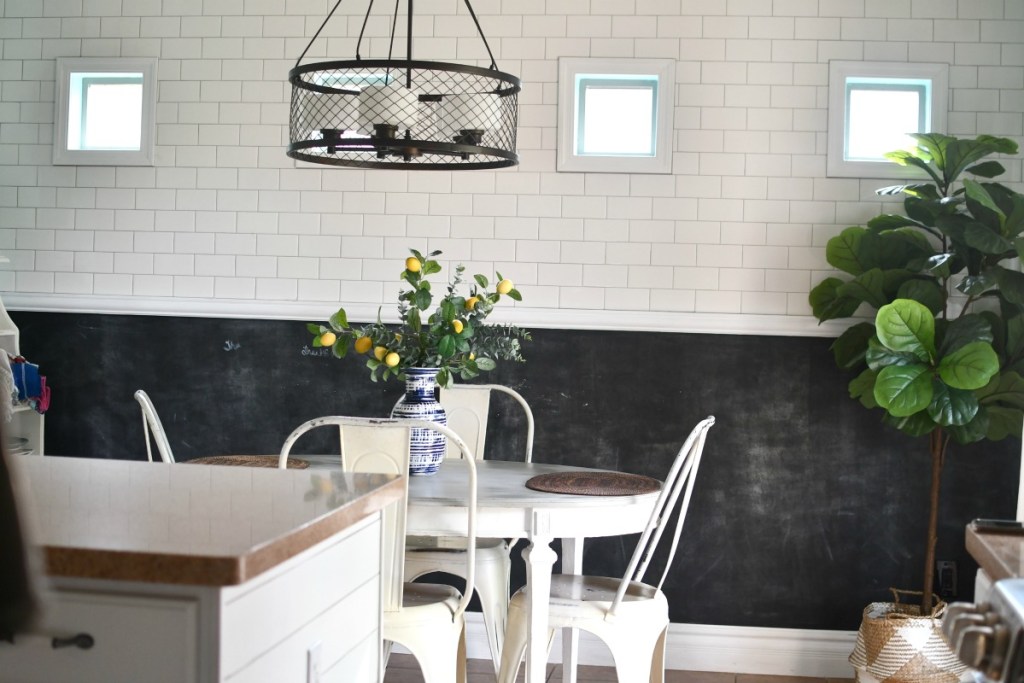
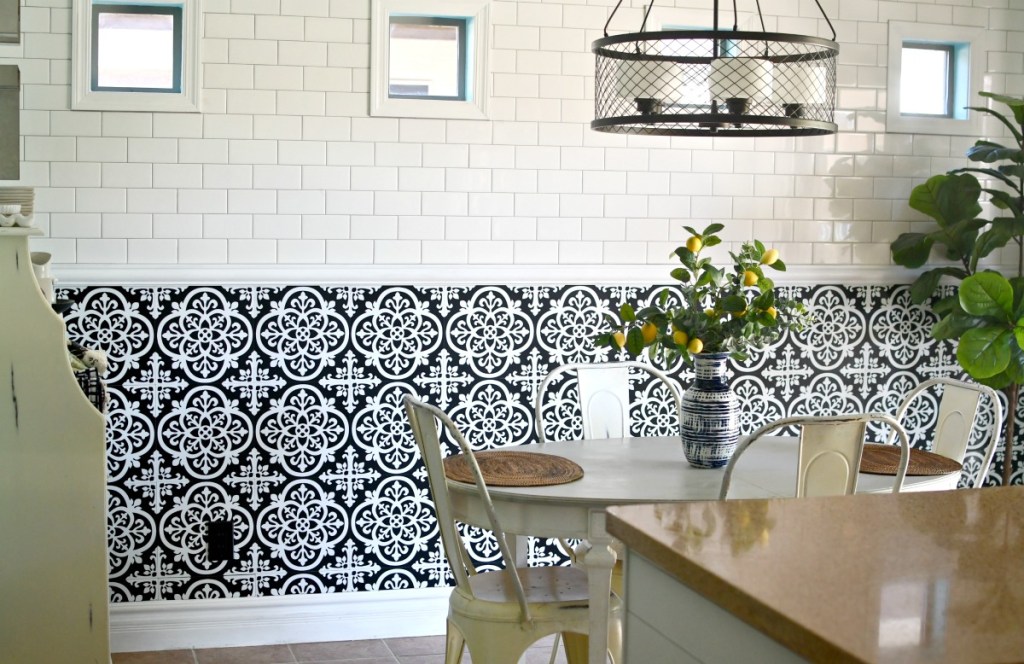
Here’s how FloorPops tile looks after installation!
Oh my goodness… I am so in love with how it turned out.  I cannot believe how much it brightens this breakfast area and I can’t stop staring at how pretty it looks. My husband, who was initially super skeptical about using this product, now admits he likes the look!
Hip Tip: If this black and white pattern doesn’t suit your style, make sure to check out all their other designs!
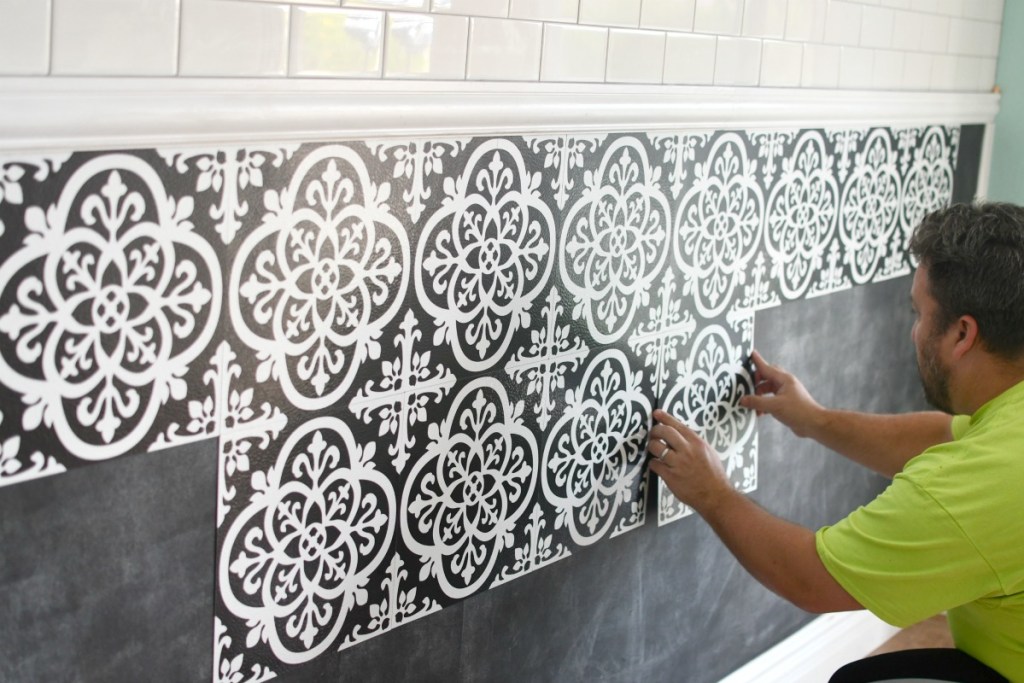
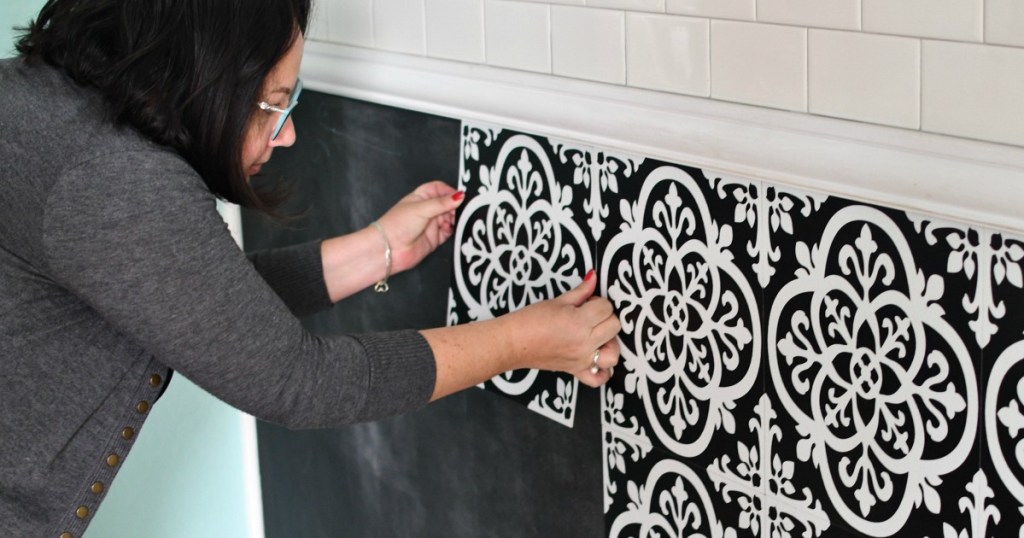
How easy was it really to install?
Well, basically it’s a giant vinyl sticker! So after cleaning the walls first and letting them dry, we stuck them on the wall making sure to place them right next to each other evenly. We started in the middle on the top, so that the seam for the last row was right at the bottom.
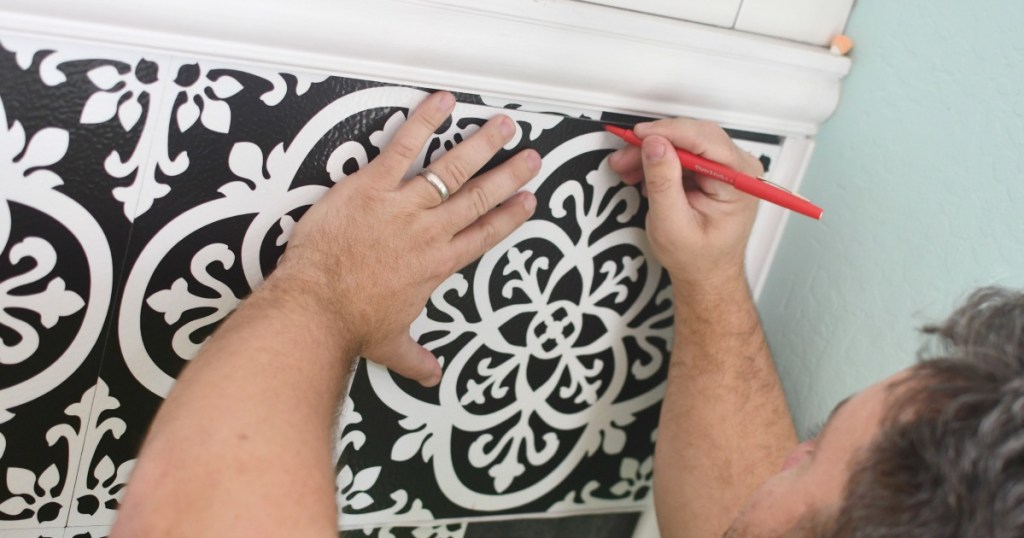
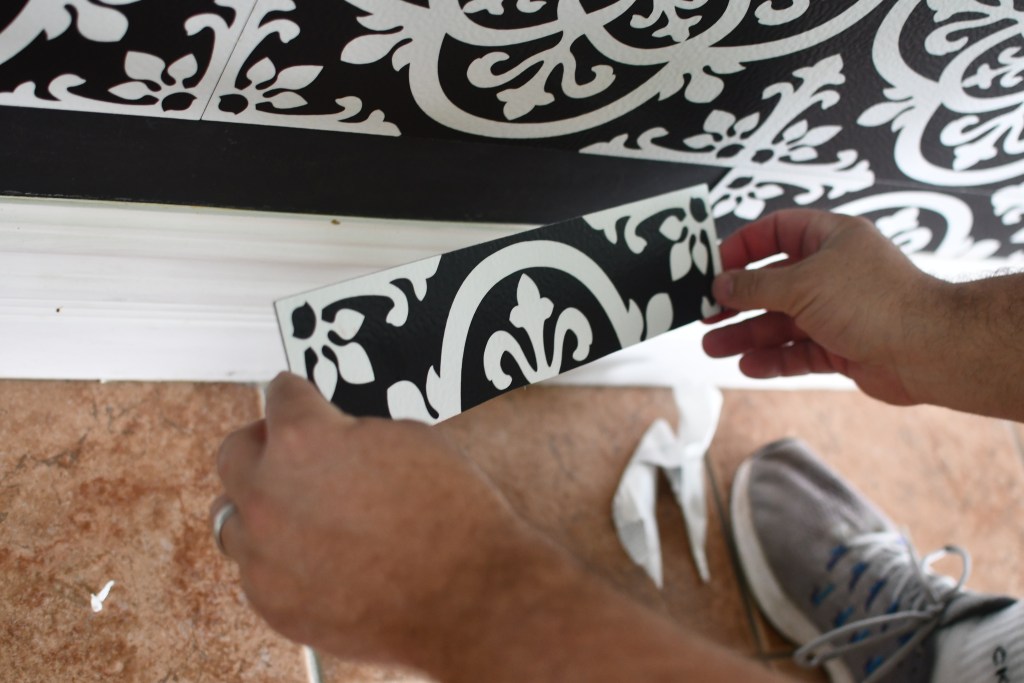
Making the cuts around the side bottom rows was the most time-consuming part.
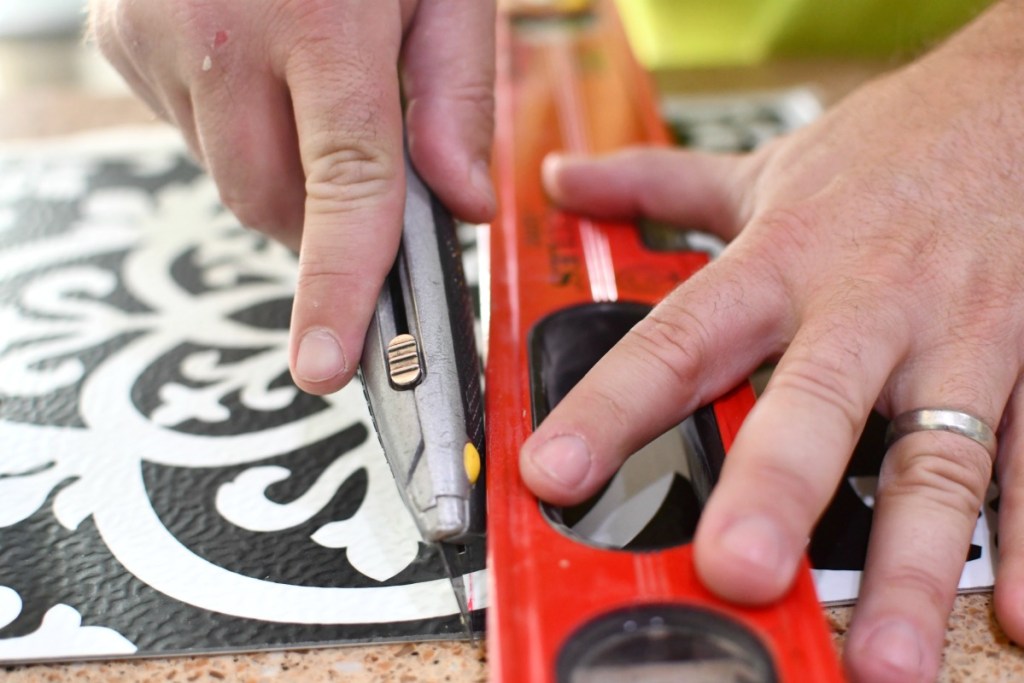
We used a sharp utility knife and the edge of a metal leveling tool to make straight cuts. You’ll first need to determine the size tile you’ll need cut, mark it using a marker or pen that can be wiped off, and make your cut. Once you get going, you’ll be able to cut several pieces the same size in a row to make it go faster.
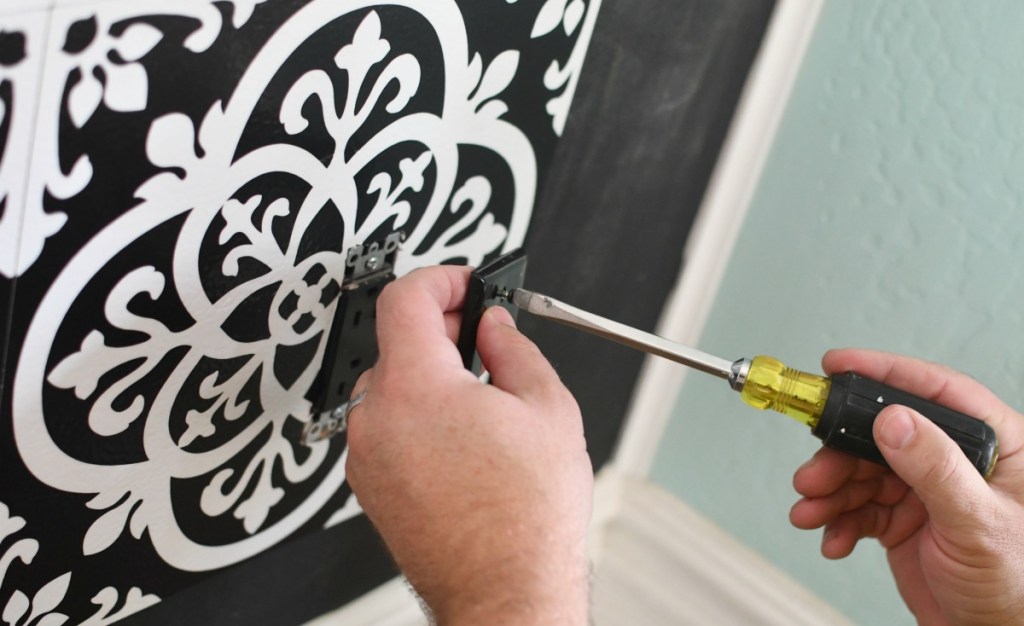
Cutting around the electrical outlets is a little bit of a hassle, but if you measure and trace around where the outlet goes and cut that area off of the tile, you’ll then able to stick on the tile and put the outlet cover back on easily.
Hip DIY Tips:
-
- Make sure to watch the video in this Amazon listing for how to easily install FloorPop tiles and follow their directions
-
- Wait until 5 days after installation to do any cleaning to the tiles so the adhesive has a chance to set.
-
- We did have a couple of tiles fall off initially on the install day, so we used masking tape to tape the edges together on the bottom row specifically, over the tiles. Then after 5 days, I removed the tape and it was all fine.
What are some other areas to utilize FloorPops Peel & Stick tiles?
The main purpose of these tiles is for flooring, and it appears that going over a flat concrete floor is the ideal situation for application. If you go over existing tile, you may have to still add grout in between.
The product also states that it’s water-resistant, but I’d recommend reading through the reviews and doing more research on using as flooring in wet areas.
In addition to flooring, FloorPops could be great for under the counter as a backsplash if you have a breakfast bar with stools!
Overall I’m so glad we took the chance on this DIY project!
It’s such a fun decorative detail on our kitchen wall that has a bold impact, yet wasn’t super expensive. I also thought the install process was simple and straightforward when applying to our wall, and I am super proud we accomplished it together!