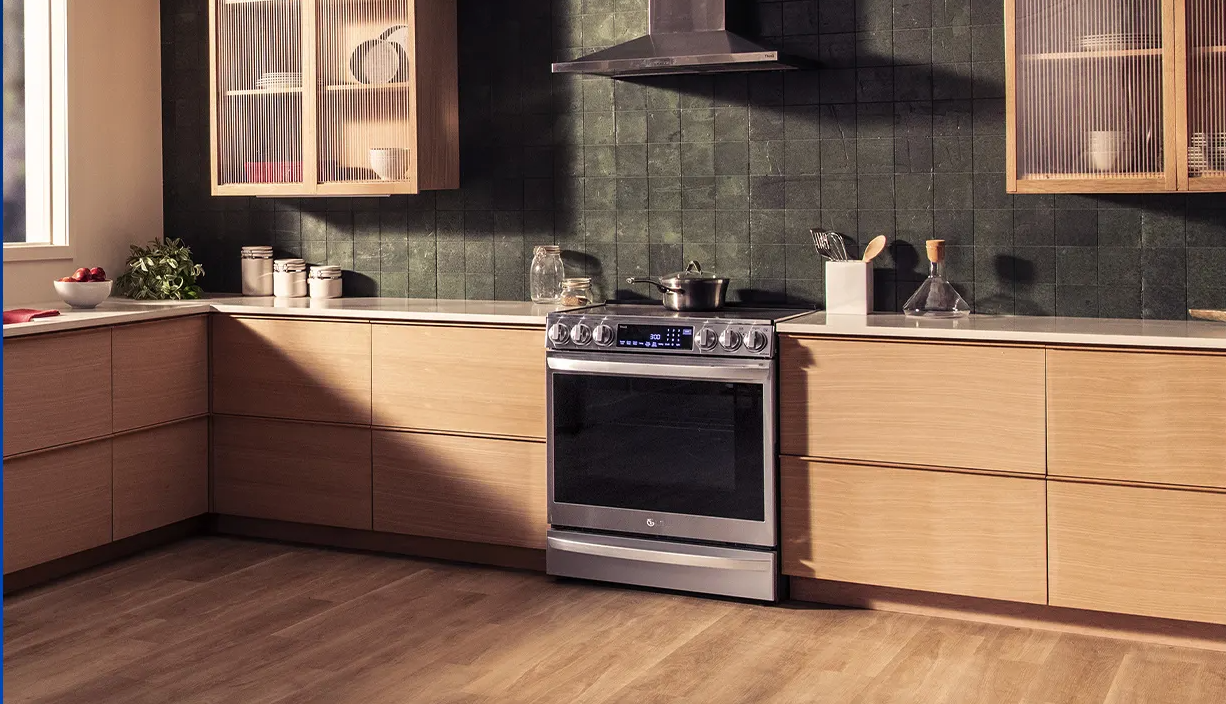
 As the motors of the kitchen, ovens surely see the most action. This means they also require the most TLC. You don’t have to be a seasoned host of holiday gatherings to know that if there’s any cooking happening, it’s taking place on the stovetops or the racks of your oven range. Yet, the excitement of cheese melting on lasagna or cookie dough rising into buttery goodness also means that the oven will soon be a greasy mess. Give your oven the attention it so rightfully deserves through these cleaning strategies. They are gentle on appliances but unforgiving on grease, grime, and other unwelcome visitors.
Get to know your range oven
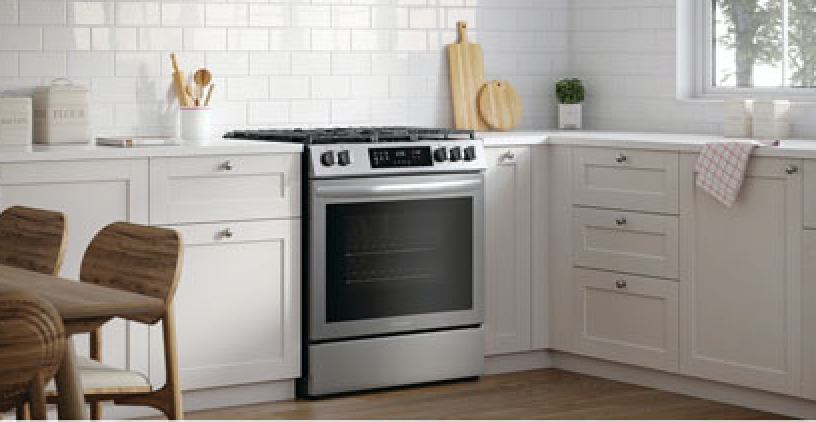 Before embarking on any cleaning mission, it’s important to first know the ins and outs of your appliance. While ovens have been a kitchen staple since the stone ages (stone-built and wood-fired pizza ovens, anyone?) modern ovens vary in size and installation. Except for wall ovens, today’s ovens are usually found as part of a range with a stovetop and exhaustion fan above. For safe and thorough cleaning, get to know your oven by reading the manual. Pay close attention to the description of materials and products to avoid, including cleaning products.
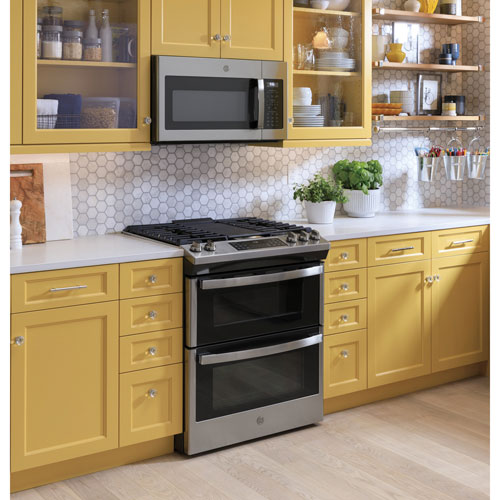
The freestanding range usually includes a backguard that needs to be dusted. Then, there are slide-in ranges that fit flush within your kitchen counters. The front panels should be cleaned regularly, especially if you have pets trying to get to the delicious chicken soup sitting on the burner. Depending on how the oven was installed, both freestanding and slide-in ranges may have gaps between them and adjacent appliances or counters. These cracks as well as any separation from the ground are common cleaning blind spots.
Cleaning an electric stovetop
While the two different types of stovetops, gas and electric, require their own cleaning methods, the first step is the same: make sure it has been completely shut off and given enough time to cool down. Unlike traditional gas stovetops that have coils, electric stovetops usually have a smooth glass surface, making it difficult to predict the heat level. Avoid accidental burns by using the heat detection panel that lets you know when it’s safe to touch the surface.
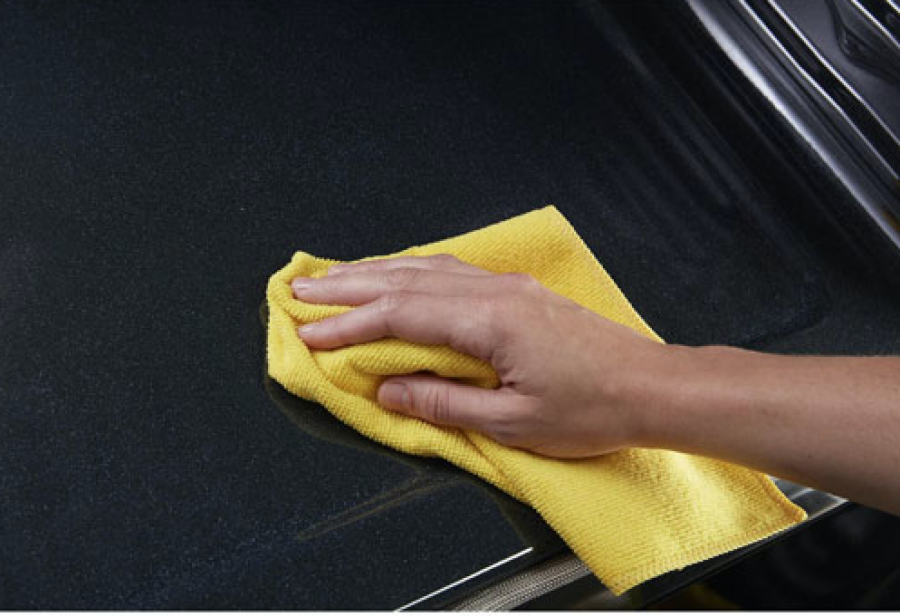 While you’re waiting for the stovetop to cool, you can remove the cookware on and around it with the help of a heat protection mitten. Glass stovetops are easy to break and costly to replace. You do not want to accidentally knock over a pot while scrubbing at a stubborn cheese stain. When it’s no longer dangerous to touch the surface, use a paper towel or dry cloth to clear away dust and leftover food scraps. Make sure you swipe towards the centre rather than the edges to prevent scraps from falling into the cracks between the stove and surrounding counters.
Wipe away any remaining grease with a cloth soaked in a mixture of vinegar and baking soda. If your stovetop calls for more heavy-duty cleaning, you can let this natural cleaning solution sit on stubborn food scraps or oil stains for a couple of minutes, then continue wiping. A soft sponge may be helpful but avoid scrapers or cleaning brushes that may damage the glass.
Cleaning a gas stovetop
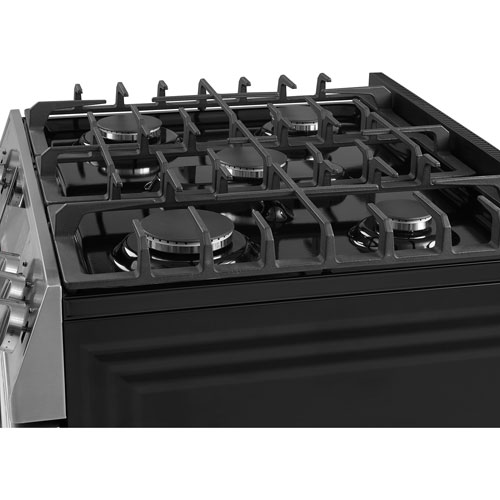 For a gas stovetop, remove the grates, and clear away any food scraps with a paper towel before letting them soak in warm, soapy water. If there are any stubborn food particles, try scrubbing them off with a sponge while rinsing with warm water. Make sure you rinse all the soap off and let the grates fully dry before reinstalling. As for the naked stovetop, use a vinegar-mixed or soap-based solution to wipe down and scrub clean.
Cleaning the oven racks
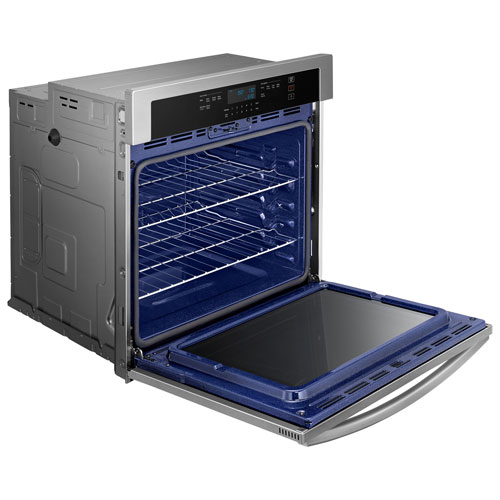 Oven racks are often the dirtiest parts of the entire range. Not only is oven grime easy to conceal (close the door and it’s out of sight), but baking mishaps are also much harder to contain than a spill on the stovetop. Prepare yourself to be surprised by just how much grease is hidden on, under, and between your oven racks.
Start cleaning by taking the racks out of the oven. Wipe them down with warm, soapy water. If your racks still have last night’s buttery mac and cheese or burnt garlic attached, consider soaking them in soapy water for a few minutes before scrubbing down. While waiting for the racks to fully dry, check the inside of the oven for any lingering food pieces. Then, spray the interior with (you guessed it!) a mixture of water, vinegar, and baking soda. Remember to wipe down the rack hooks as well.
Cleaning the oven exterior
Even though the outside of the oven doesn’t see nearly as much action as the inside, it is pit-stop number one for fingerprints, pet licks, and dust. While wiping the oven door, controllers, panels, and edges with a vinegar-mixed solution usually does the trick, you should always check the manual for the recommended method. Depending on the material of the exterior, a light, soapy water mixture may also work. In some cases, you might want to opt for special stainless steel cleaner. Some panel caps can be removed for easier cleaning. Don’t forget to dust behind the oven handles too!
Cleaning under the oven
Ever peak under your oven and squeal in horror at the layers of dust that have accumulated? If you have an oven range that didn’t quite fit between your counters, this is a must clean area. The easiest way to get at these tiny cracks is by using a vacuum extension. If that doesn’t work, check to see if your range is safely moveable. If it’s not hooked up to a gas source, you may be able to unplug it. Then, push the range forward and vacuum under.
Using the oven’s self-cleaning features
 Most new ovens are equipped with a self-cleaning feature that uses heat, steam, or a combination of both to turn grime into dust. The heat mode can be used for heavy duty cleaning while the steam mode for less intensive cleaning. Usually, you’ll run the cycle, which burns everything off, then wipe the interior clean once it’s done.
Since these features provide an intensive cleaning of the oven, they should only be used for deep cleans versus a regular cleaning tool. Make sure you read and follow the manual’s instructions for safety practices when using this feature, including how often it should be used.
How often should you clean an oven?
 How much you cook, what you cook with, and how skilled you are at cooking will determine how frequently you should clean your oven. For those cooking at least once a day, a quick wipe down of the stovetop after each session would be best to avoid grime buildup. At the very least, you should dust off food scraps to avoid having them stick to the surface. If you tend to cook with lots of oil, butter, or other products known to create splatter, you will want to give the oven a more intense cleaning once a week. Likewise, if your household has teenagers or young adults learning how to best control a spatula, it would be wise to clean more often.
When it comes to the oven interior, you should do this every 3 months or so, more often if it’s particularly soiled with burnt food particles and less if you use it less than average. For the exterior, give it a wipe down after each use, and a scrub as food accumulates or at least once a week.
We often think of cleaning as a troublesome task. But oven cleaning is the best way to show care for an appliance that has fed our family and friends, breathing life into our kitchens.
If you’re looking for a new kitchen centrepiece, check out Best Buy’s collection of ranges and ovens.
The post How to clean your oven: easy and efficient tips appeared first on Best Buy Blog.
